Bricqer has support for adding new items to your inventory in various ways. You can search for items by picture, use camera recognition, request set part-outs and more. In this guide, you'll discover the various ways of adding new stock to your Bricqer inventory.
Before you can add new stock to your inventory, you will first need to create a purchase and a batch. You can find out more about purchases and batches in this article.
Manual editor
The manual editor allows you to add new items by manually entering the part number, color and quantity.
Visual editor
The visual editor allows you to add new items by searching through the catalog using pictures. Filter based on part type, color or keywords and add the corresponding item by simply clicking the picture.
Camera recognition
Camera recognition allows you to use a local or remote camera, take a picture of a piece, and automatically detect the type of item in the picture.
Partout editor
Use the part-out editor to request a list of parts in one or more sets. You can then add the items in the list individually.
File import
If you'd like to work with other software such as BrickStore, you can opt to import their files into Bricqer.
BrickMonkey
BrickMonkey is a mobile app that can help you identify and build minifigures. You can import your minifigure collection into Bricqer.
Additionally, this guide shortly covers automatic location suggestions, how prices are automatically determined and how you can upload the new stock to your stores.
Manually adding items
By default, Bricqer will show you a short form where you can manually enter the part number, the color and the quantity. You can easily jump between the various fields by using the Tab key. If you already know the specifics of the item you want to add to the inventory, using this method of adding new items can be extremely efficient.
Using pictures to add items
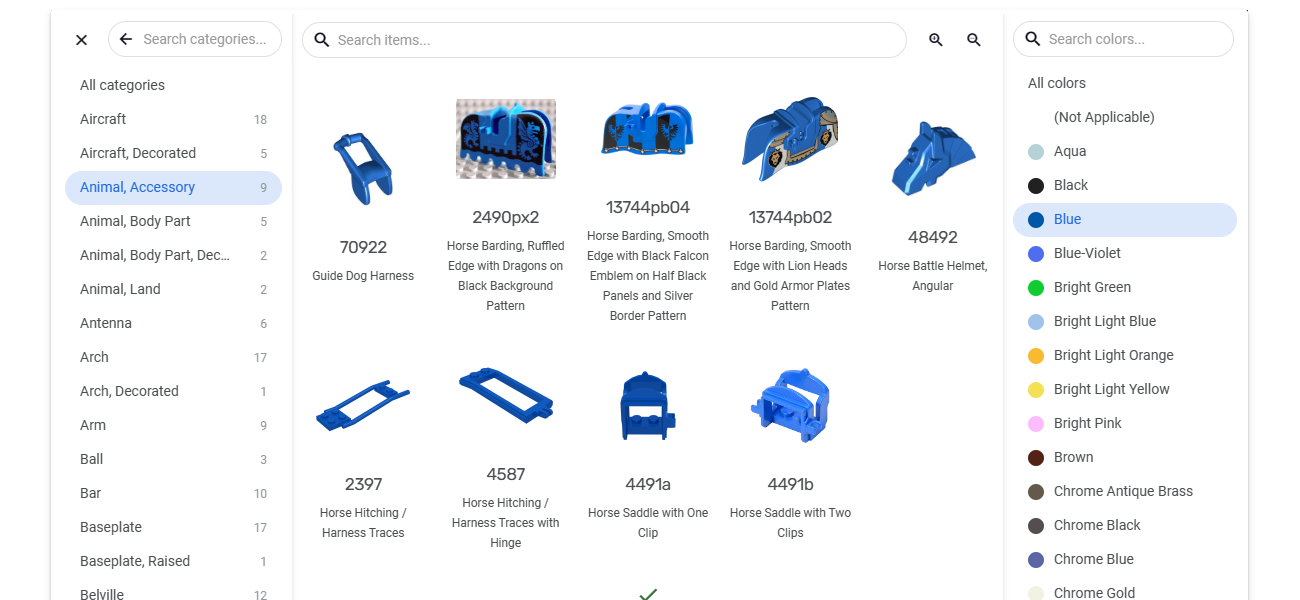
Another method of adding inventory is using the visual editor. You can switch to the visual editor by selecting "Visual editor" in the "Views..." dropdown.
By selecting the part type, category and optionally the color, Bricqer will display all the relevant items in the catalog. You can also narrow down your search by entering some keywords. Once you have selected the appropriate item, Bricqer will automatically show you its location in your existing inventory. You can also move it to a different location before adding it to your inventory.
If you're not sure about the part number of the item you are trying to add, using pictures in the visual editor can help you find the part more easily.
Using camera recognition to add items
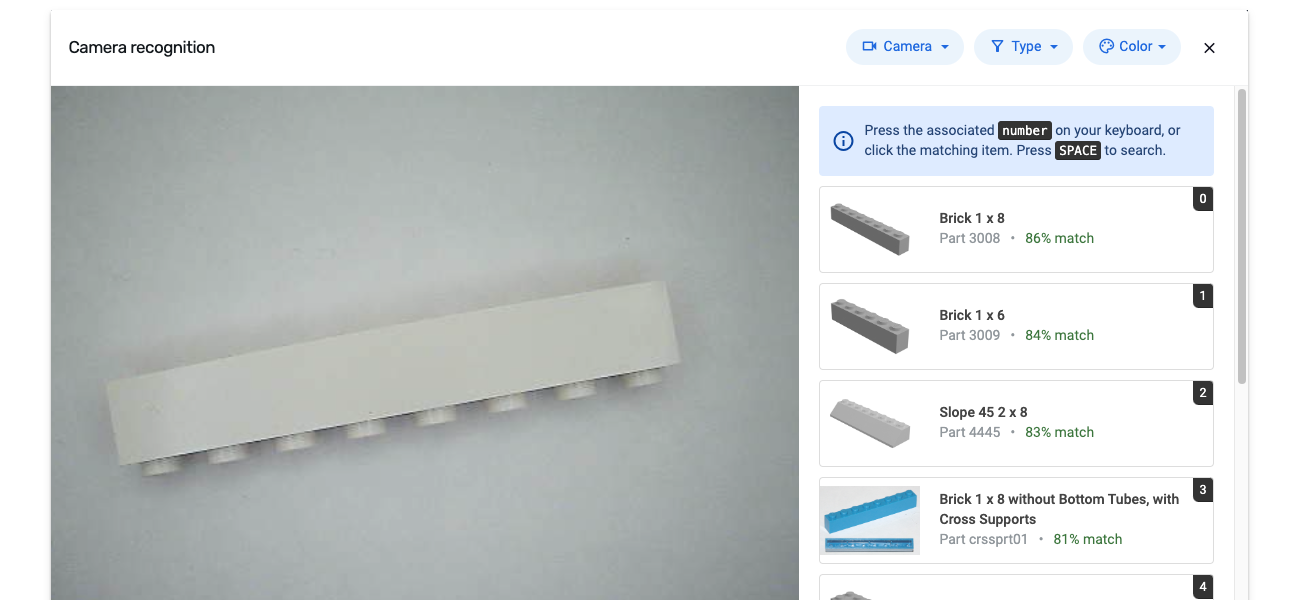
Camera recognition is another great option for adding new items to your inventory, especially when you're not sure about the part number or category. Bricqer has support for using the camera on your local device or a remote device. It even has support for specialised hardware such as the Instabrick.
When you start Camera recognition, Bricqer will automatically use a webcam or Instabrick unit connected to your local system. You can connect the camera of another device, such as your phone, by clicking "Camera...", "Connect remote camera". Simply scan the QR code with another device to connect its camera.
After you have set up the camera, you can search for items in the catalog by taking a picture. You can press Take a picture on the screen, or use the space bar on your keyboard.
After having taken a picture, you can select a matching item on the right side of the screen. You can also select a matching item by pressing the number on your keyboard associated with the part that you want to add to your inventory.
If you're going to add a lot of items that have the same color, you can preselect the type and color of the items you are going to be adding to your inventory. This can help the system filter out items that are unavailable in the selected color. Additionally, as Bricqer will prefill your selected color, you won't have to manually enter the color for each item you'll add to your inventory.
Requesting a partout to add items
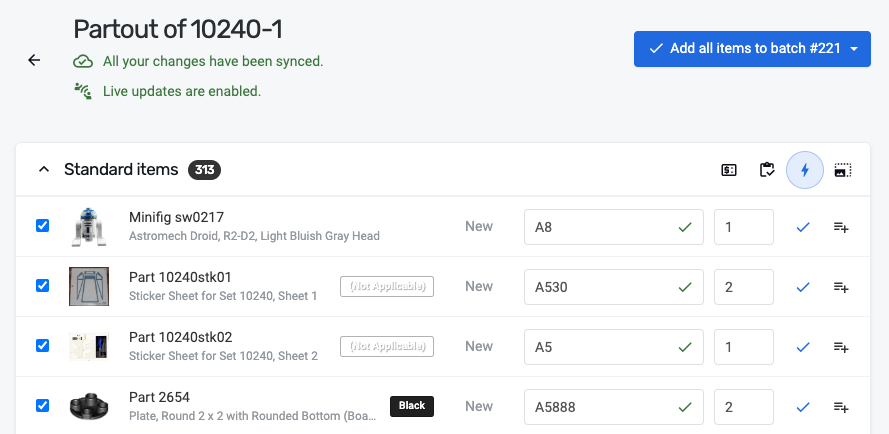
A partout provides a list of all the parts in a set. You can open the partout editor by going into "View..." and selecting "Request a partout". Enter the set number and specify the number of sets you want to partout. You can even specify multiple sets at once.
After requesting the partout, Bricqer will show you the list of items in the sets, checking their current location in your inventory. You can click Add, or use the Tab key on your keyboard, to add individual items to your inventory.
If you are running an unconsolidated inventory, you can also press Duplicate to duplicate an item and add it to multiple locations at once.
Processing partouts can be a time-consuming task. If you want to resume a partout later, you can do so by opening the partout editor and clicking the History button. This will show you a list of partouts that you worked on previously. This allows you to take a break, and to pick up where you left off later on.
You and one or more colleagues can simultaneously work on a single partout. Bricqer will instantly synchronize any changes made across all collaborators. This can speed up working on large partouts tremendously. You can find out more about this feature in our blog post "Speed up part-outs with our collaboration features".
Importing a BrickStore or BrickLink file
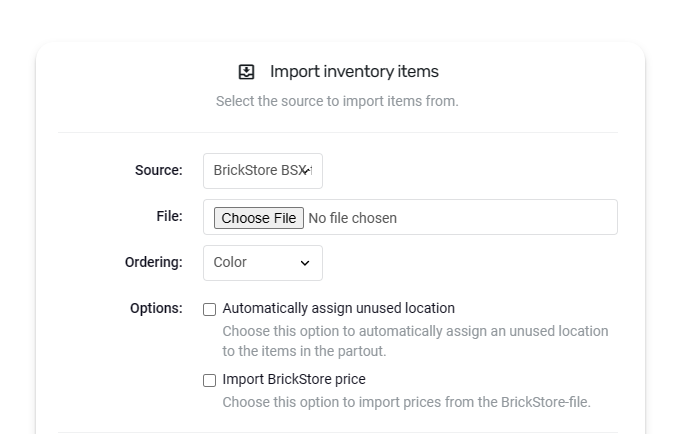
If you currently use software like BrickStore, you can import their files into Bricqer. You can upload a file to Bricqer by going into the "View..." menu and selecting "BrickStore". From this screen, you can also switch to other file formats. The following file formats are supported.
| BrickStore BSX | You can import a BrickStore BSX file into Bricqer. Bricqer can automatically assign a location and price, or import the data from the BrickStore file. |
| BrickLink CSV | You can import the CSV export of a BrickLink order into Bricqer. When you place an order with another store, this enables you to quickly import the items you bought. |
| BrickLink XML | You can import BrickLink inventory XML files into Bricqer. Besides BrickLink itself, there's numerous other software that use this file format and can thus be imported into Bricqer. |
After having selected the file, Bricqer will show you the items in the file. You can opt to import all items at once, or go through them individually.
Importing BrickMonkey minifigures
You can import your minifigure collection from BrickMonkey into Bricqer by going into "View..." and selecting "BrickMonkey". When you export your collection from BrickMonkey, you can upload the file into Bricqer. Bricqer can automatically assign a location and price.
Determining the location & price of an item
Bricqer tries to optimize the most time-consuming tasks of running your store. As part of this effort, Bricqer will automatically show you the current location (remark) of an item in your inventory while you're adding it. You can choose to add the item to the current location, or to move it to another location. If you are running an unconsolidated inventory, you will be especially interested in our built-in unconsolidated inventory support.
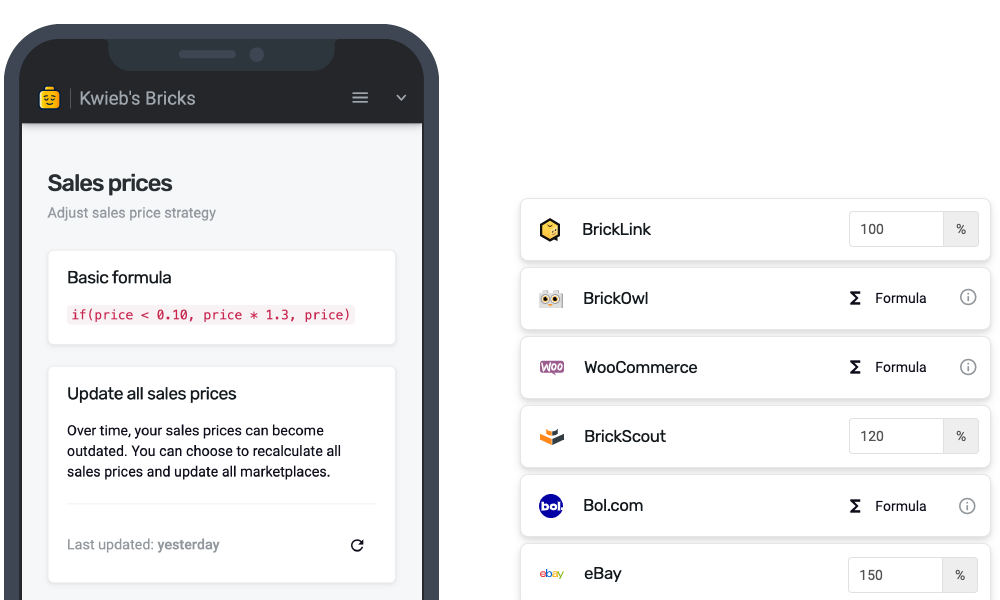
After you have added an item to your inventory, the price for the item will automatically be calculated using your pricing formula. You can find more information on pricing formulas in the Pricing formulas guide.
Uploading new inventory to your stores
Once you finish adding items to your inventory, you can upload the newly added items to your various connected marketplaces by clicking Upload stock to shops. Bricqer will display the number of items in the batch and the marketplaces they will be uploaded to. Additionally, you can configure the following options.
| Update sales prices | Over time, your sales prices can become stale, especially if it's taken a longer time to process an entire batch of new items. Check this option to automatically update all sales prices for the items in the current batch, before putting them online. |
| Plan batches | Bricqer can automatically upload batch items at a specified date and time. This can be helpful if you want to automatically keep your stock at a certain level, or want to regulate the flow of incoming orders. |
Once you click Save, all the items will be uploaded in the background, or they will be scheduled as per the date you specified. You can shut down your computer or move on to other tasks, such as fulfilling orders, or even adding more items to other inventory batches.
- Adding items to your inventory in Bricqer
- Manually adding items
- Using pictures to add items
- Using camera recognition to add items
- Requesting a partout to add items
- Importing a BrickStore or BrickLink file
- Importing BrickMonkey minifigures
- Determining the location & price of an item
- Uploading new inventory to your stores
- Related articles
Ready to get started?
Sign up and we'll have you up and running in no-time!
